
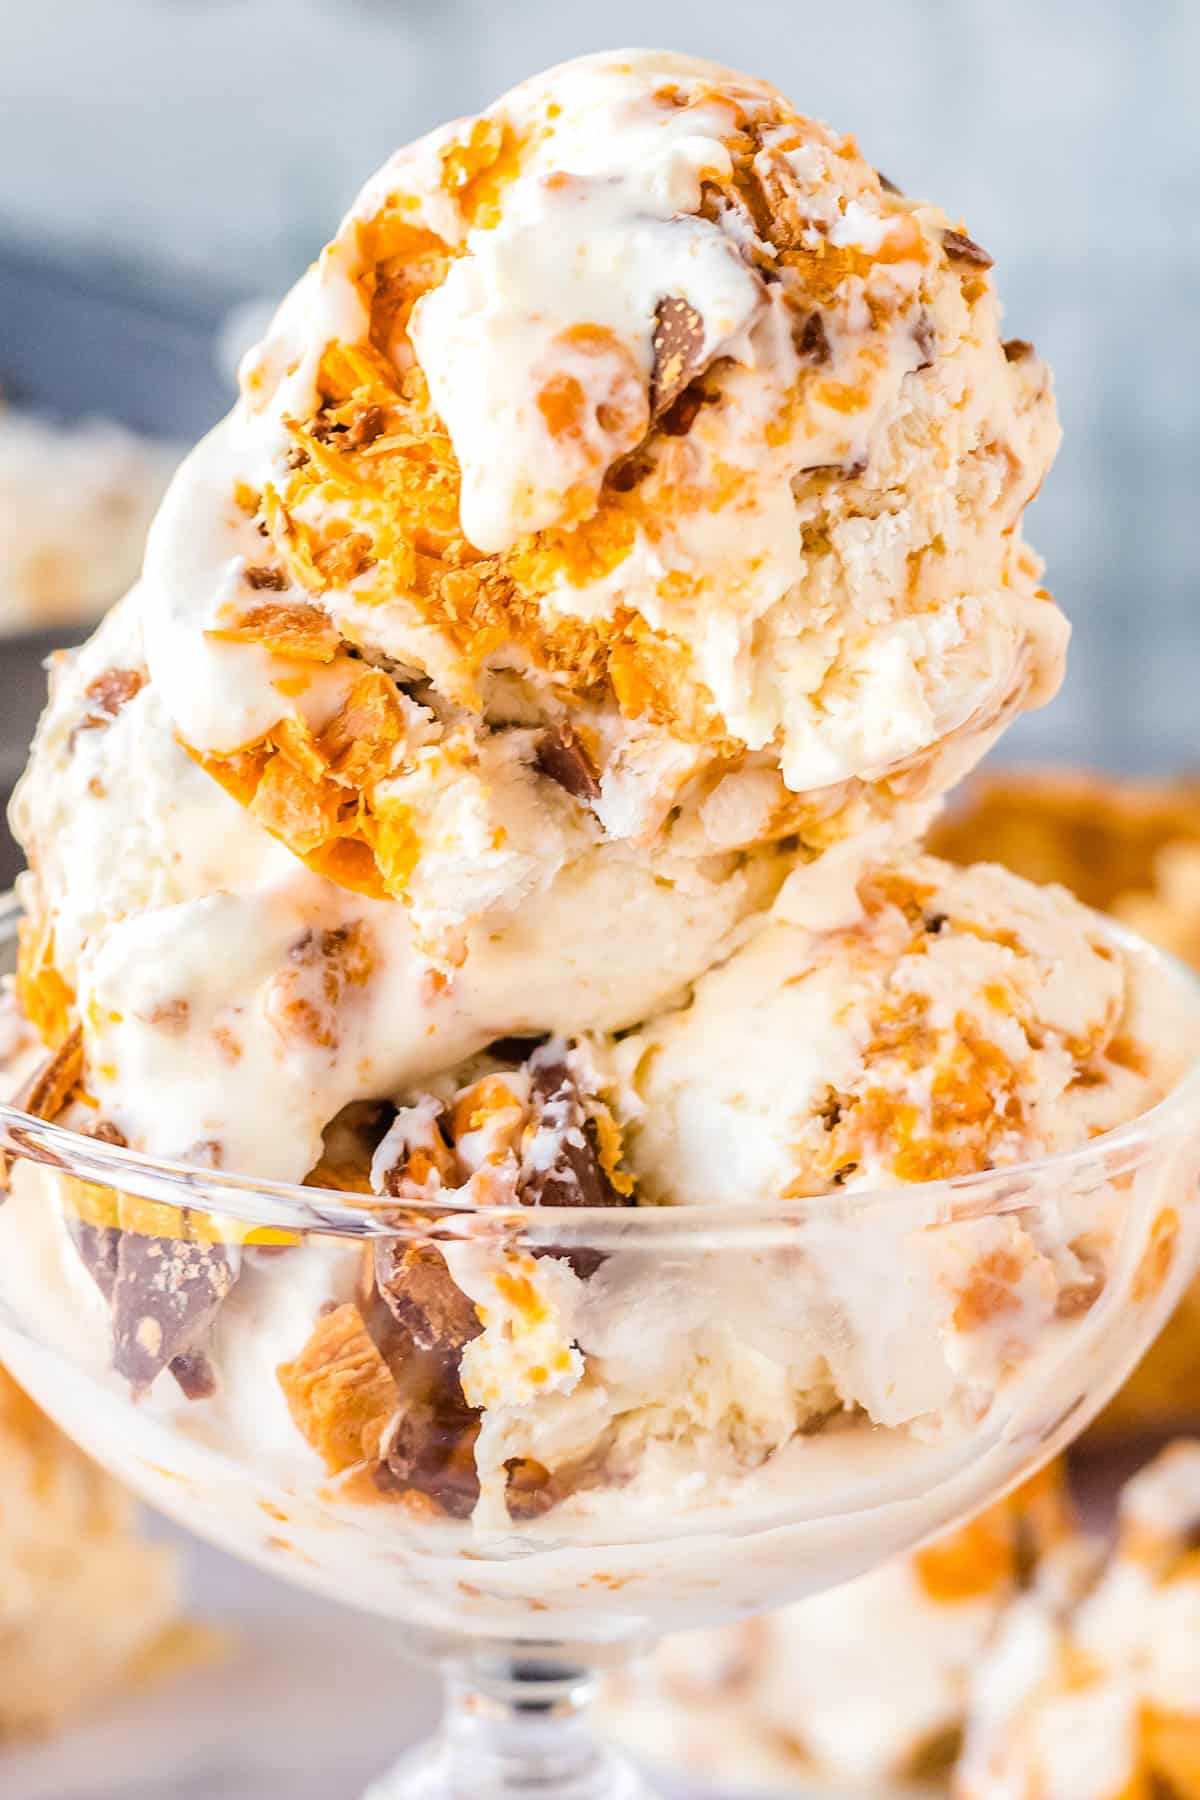
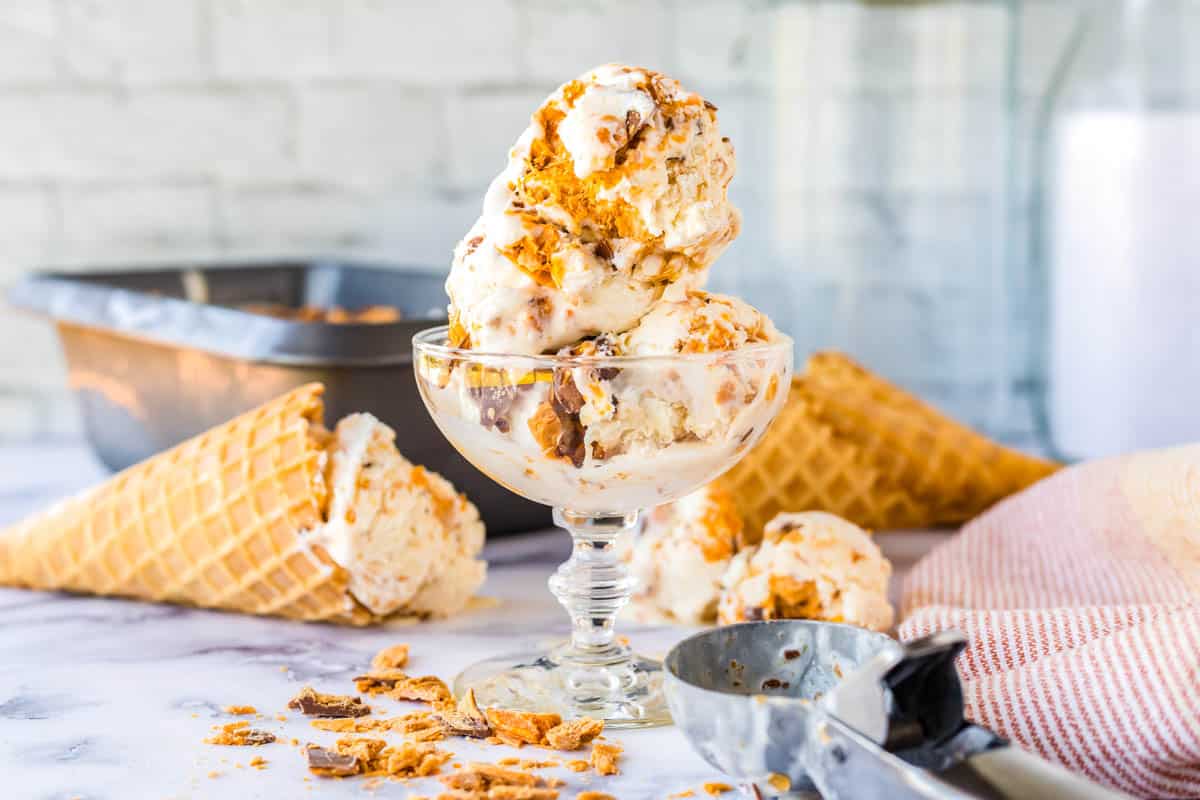
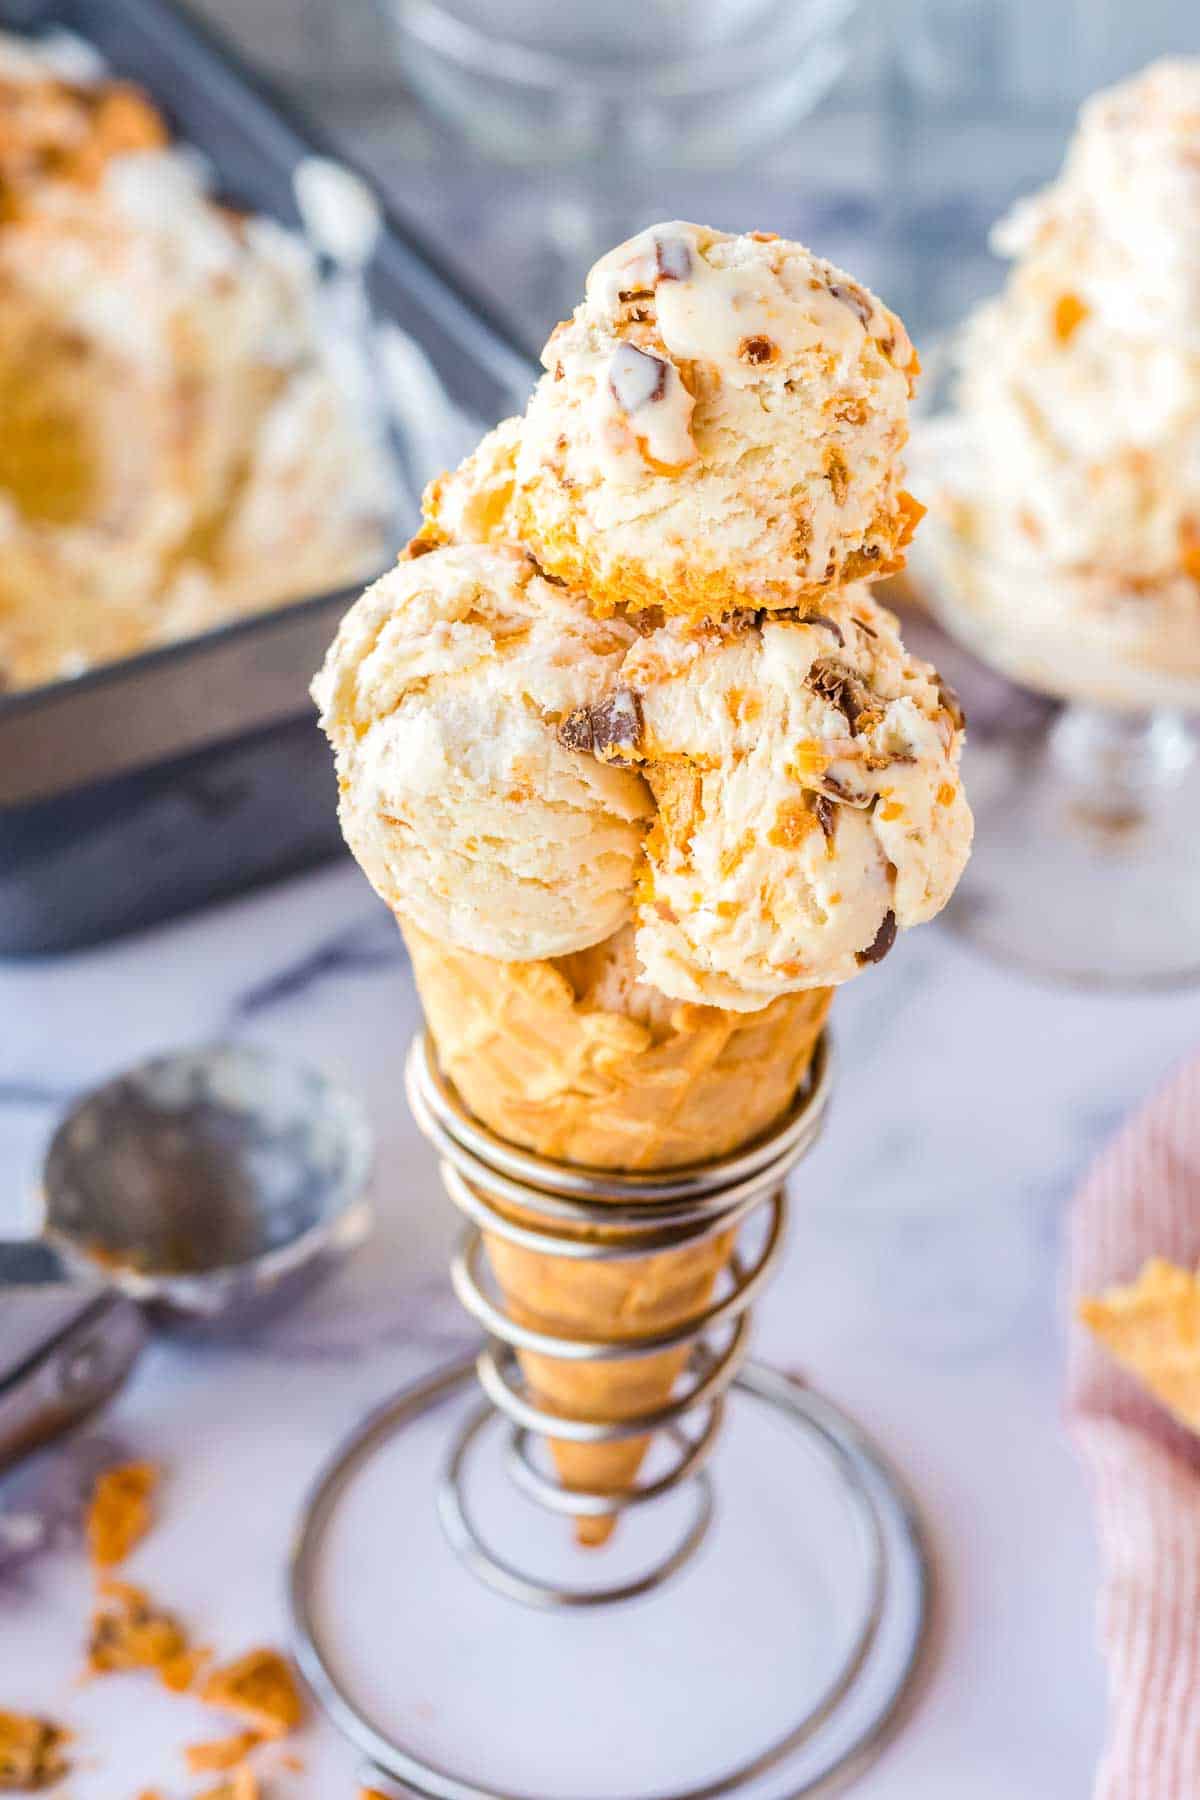
Indulge your family with this easy-to-make Butterfinger ice cream, which requires minimal prep and no-churn magic. It’s perfect for busy moms who want to create a sweet treat without the fuss. Whip up a batch in minutes, freeze, and enjoy a homemade dessert that’s sure to be a hit with everyone!
This ice cream costs around $8.13 to make. The recipe makes eight servings, which costs about $1.02 per serving.
Table of Contents
My Favorite No-Churn Ice Cream
Hi friends,
As a busy mom, I always look for quick and easy ways to treat my family without spending hours in the kitchen.
This Butterfinger ice cream recipe is a game-changer for me—it’s so simple, and I don’t even need an ice cream maker!

Just a few minutes of prep, pop it in the freezer, and I’ve got a delicious, homemade dessert that makes everyone happy.
The combination of creamy ice cream with crunchy Butterfinger pieces is absolutely irresistible. It’s my go-to when I want to surprise my family with something special without adding extra stress to my day.
What I Love About This Butterfinger Ice Cream
- Homemade Delight: Enjoy the satisfaction of creating a delicious, homemade dessert with minimal effort.
- No-Churn Recipe: This is a great recipe if you don’t have an ice cream maker.
- Rich & Creamy Texture: Made with heavy cream and sweetened condensed milk for a luscious base.

Equipment
- Large mixing bowl
- Electric hand mixer
- Spatula
- 9×5 inch bread loaf pan
- Measuring cups and spoons
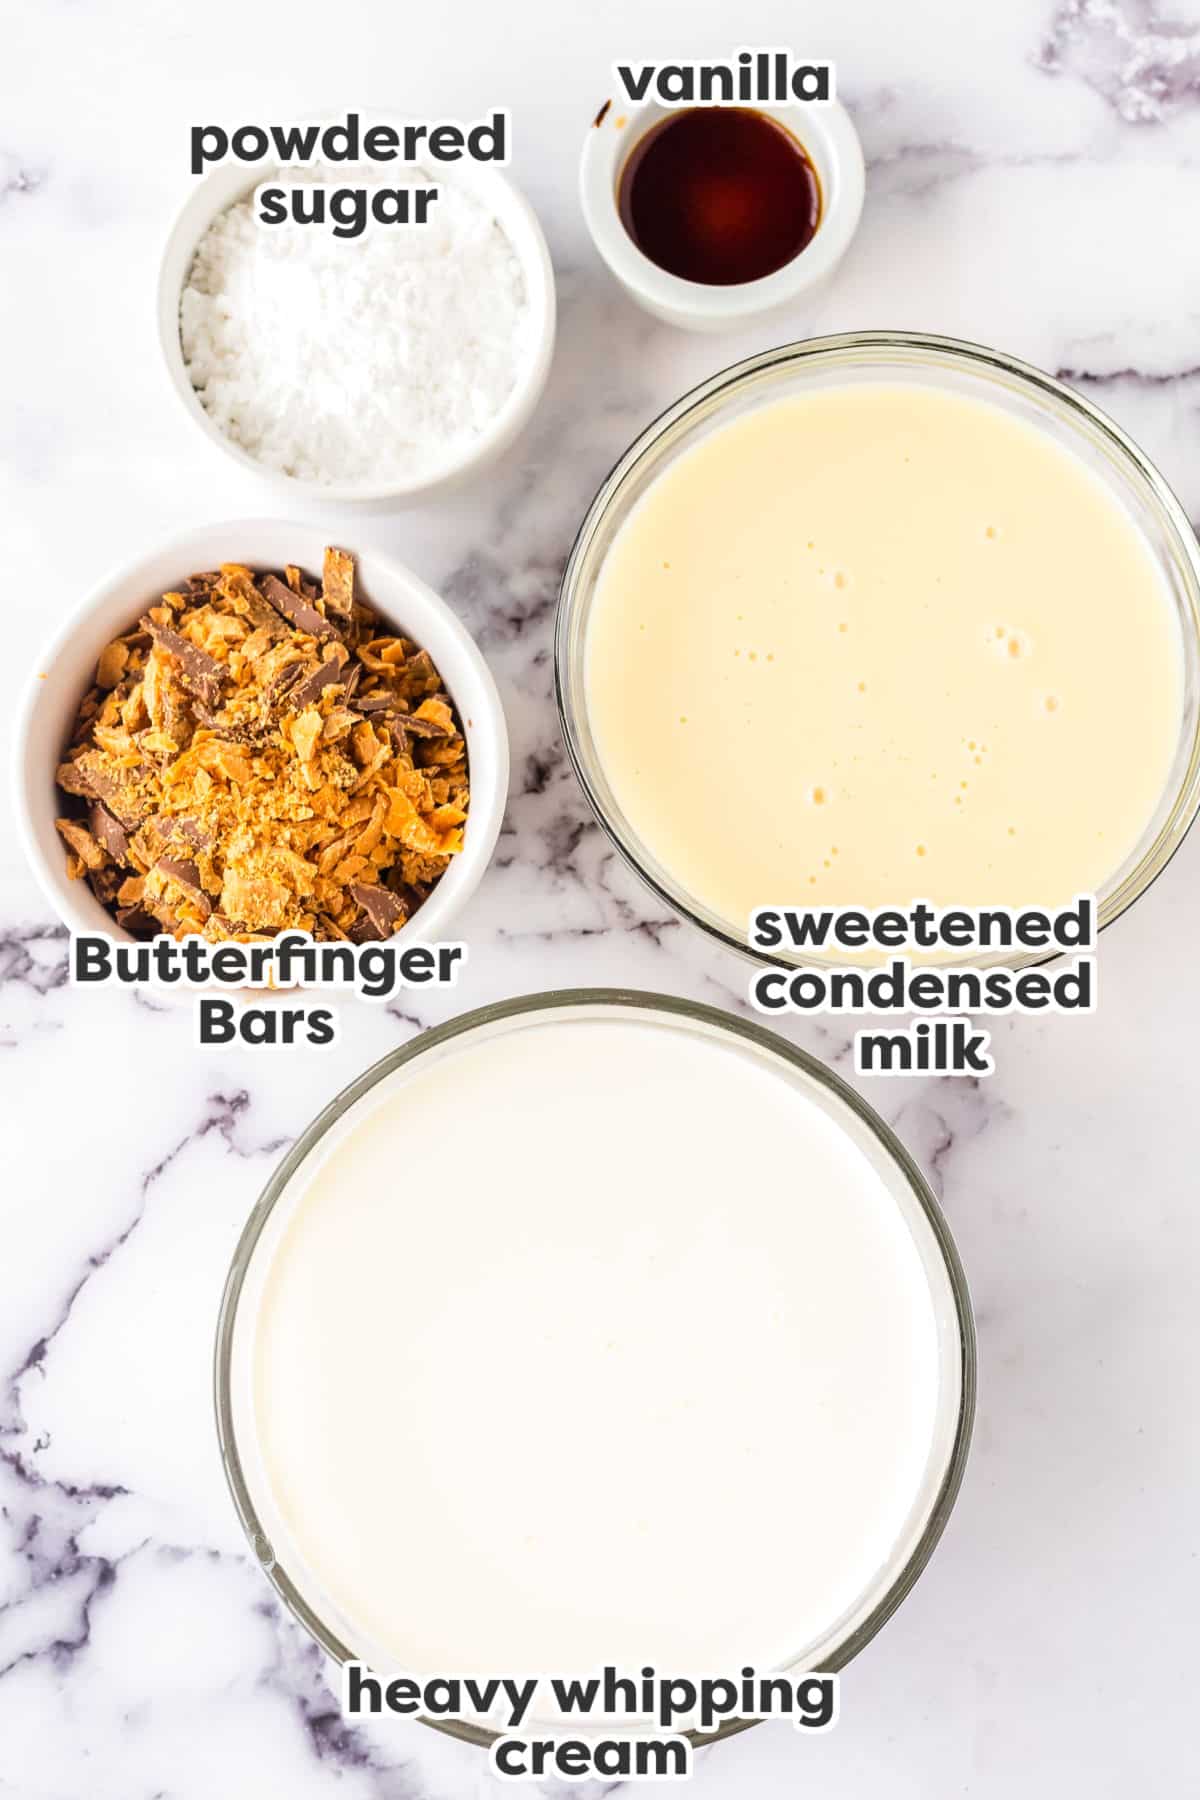
Ingredients & Estimated Cost:
- 2 cups heavy whipping cream – $3.50
- ½ cup powdered sugar – $0.48
- 1 teaspoon vanilla extract – $0.46
- 14 ounce can sweetened condensed milk – $1.99
- 1 ¼ cups chopped Butterfinger bars – $1.70
The recipe cost is calculated by the amounts needed and will vary based on fluctuating grocery costs. To learn more about how we price our recipes, check out Budget Recipes Explained. The pricing for this recipe was updated in August 2024.
How To Make Butterfinger Ice Cream
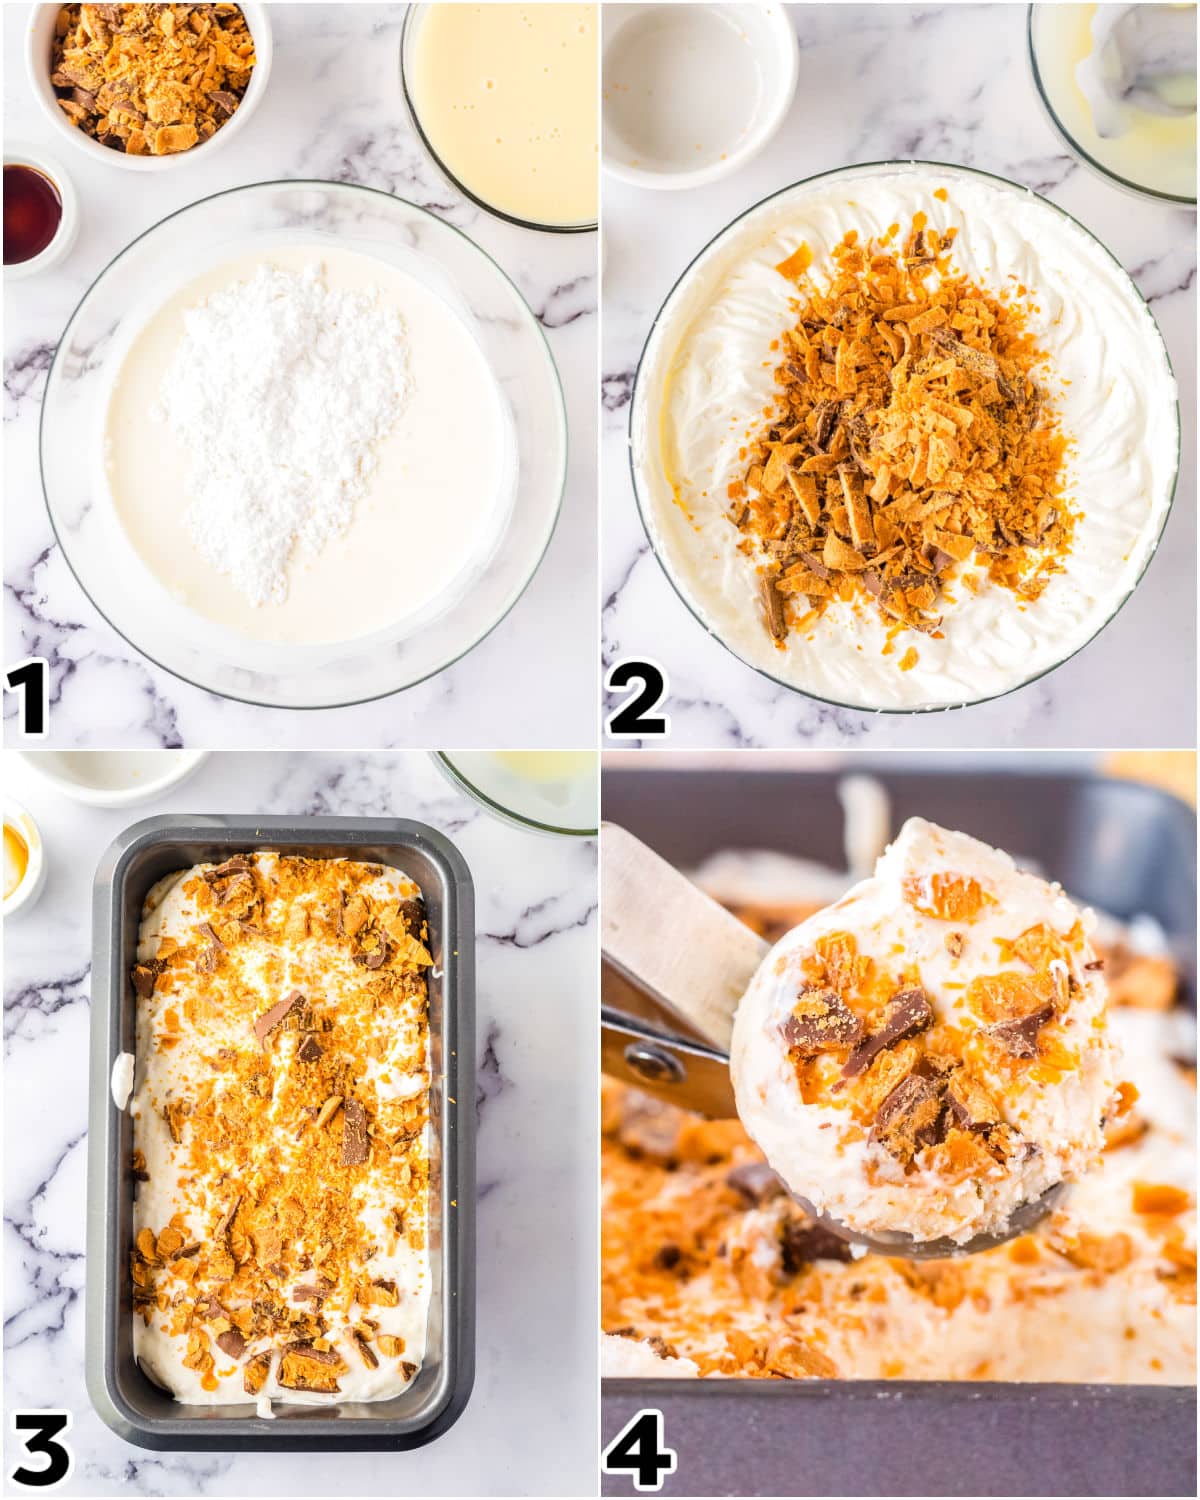
1. Whip the Cream
- Mix powdered sugar and heavy cream in a bowl. Whip until stiff peaks form.
2. Add Mix-Ins
- Fold in sweetened condensed milk and Butterfinger pieces.
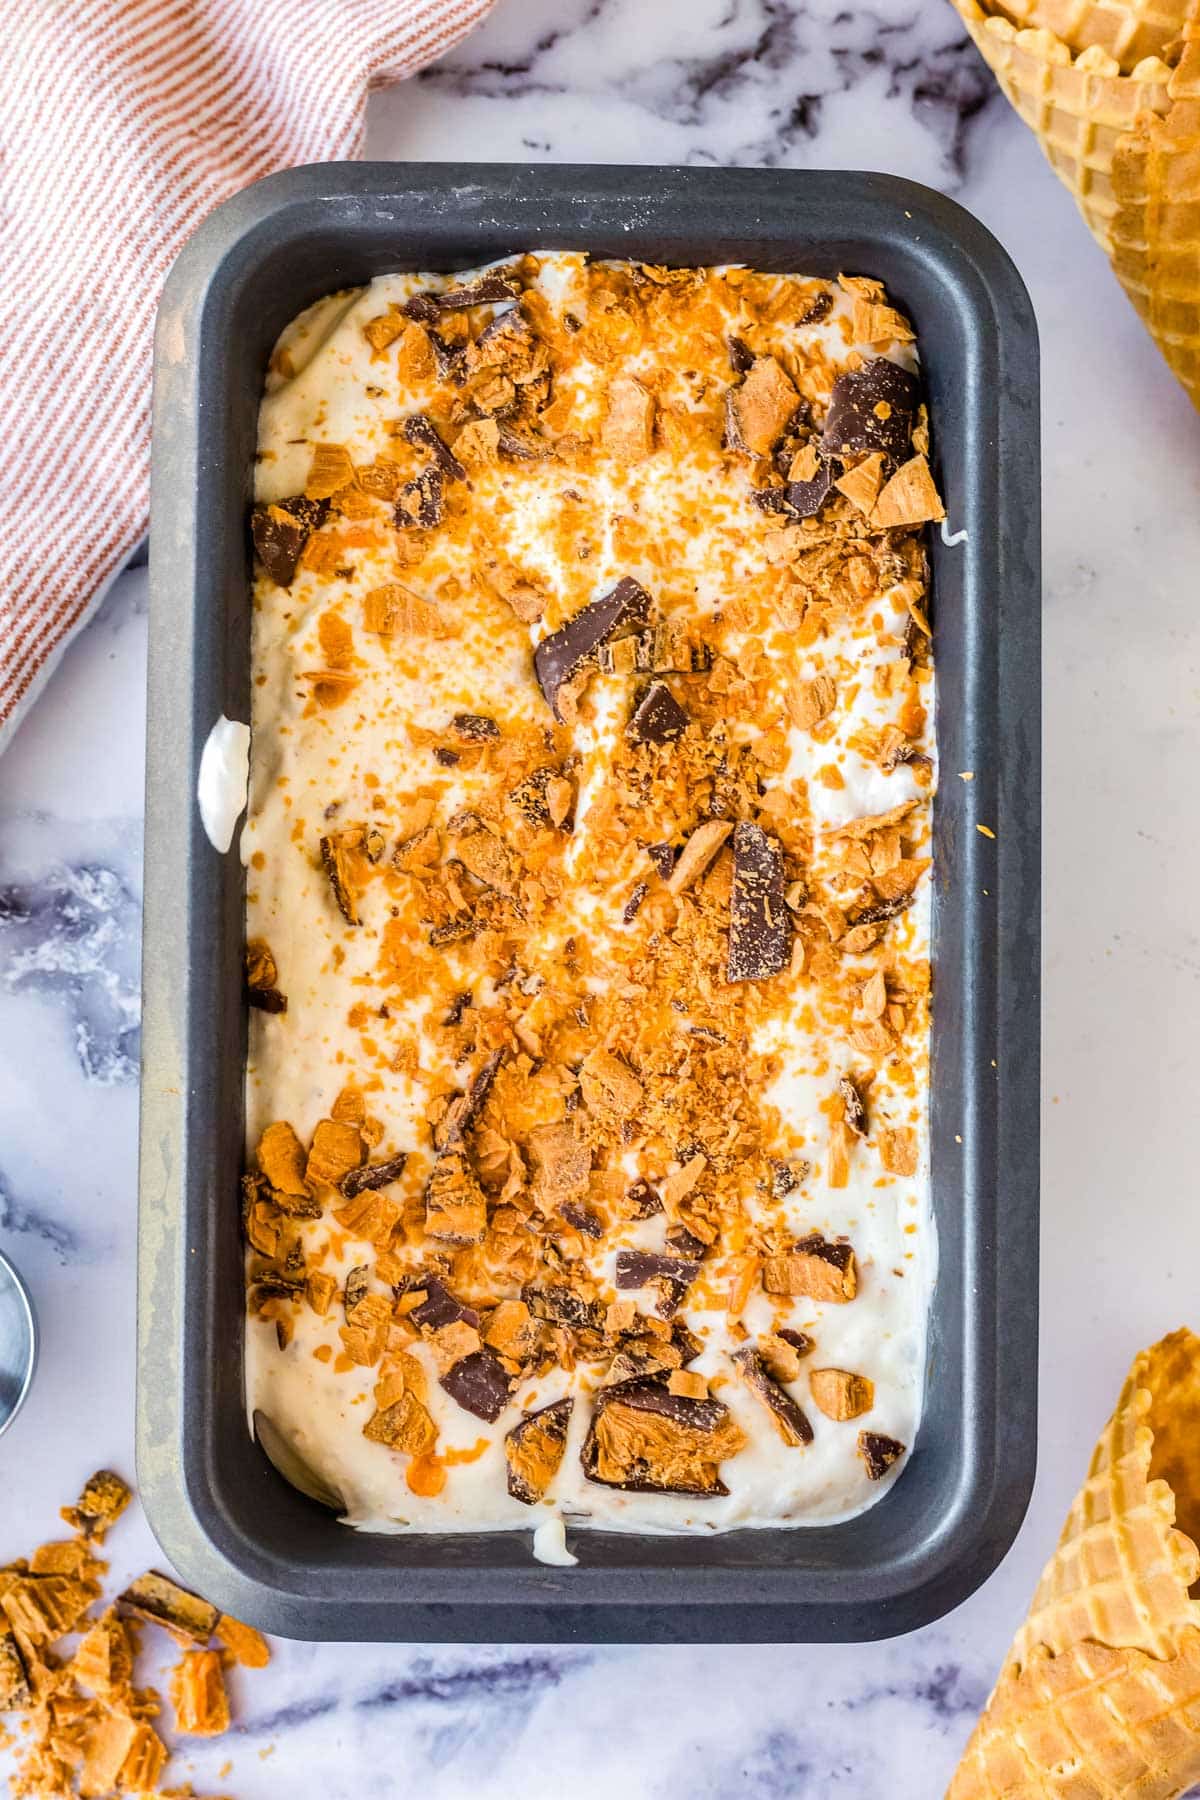
3. Freeze
- Pour into a loaf pan and freeze for 4-5 hours until firm.
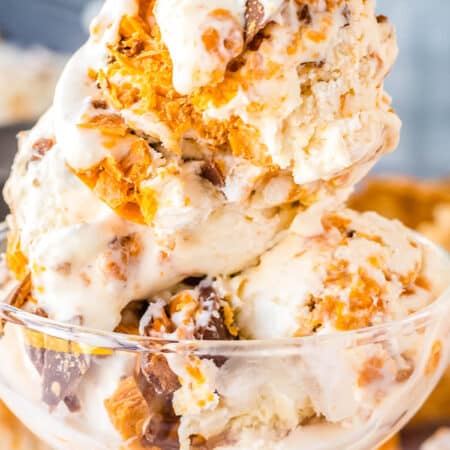
4. Serve
- Scoop and enjoy!
***For complete recipe instructions, see the recipe card below.
Recipe Tip
For a smoother texture and easier mixing, chill your mixing bowl and beaters in the freezer for 10-15 minutes before whipping the cream. This helps the cream whip up faster and more evenly, especially if you’re making this ice cream on a warm day!
Recipe FAQs
Can I use a different type of candy instead of Butterfinger?
Yes, feel free to substitute with your favorite candy bars like Snickers, Reese’s, or Kit Kat.
Do I need an ice cream maker for this recipe?
No, this is a no-churn recipe, so you only need a mixer and a freezer.
What if I don’t have a loaf pan?
You can use any freezer-safe container with a similar capacity, like a cake pan or Tupperware.
Storage Tips
SERVE: You may need to let your ice cream sit for a few minutes before you scoop it, but once it is soft enough, it will scoop just like natural ice cream.
STORE: After the ice cream has set, you can store it covered with plastic wrap or in an airtight container for up to a month. After a month, the ice cream starts to get a little crumbly.
Recipe Variations
Peanut Butter Swirl
- Add a swirl of peanut butter for an extra creamy, nutty goodness layer.
Cookies and Cream
- Mix in crushed Oreos and the Butterfinger pieces for a combo of crunchy textures.
Chocolate Fudge
- Drizzle in some chocolate fudge or syrup as you fold in the candy pieces for a delicious chocolatey twist.
More Desserts
- Banana Bread Cookies
- Chick-fil-A Oreo Milkshake Copycat
- No-Bake Banana Split Cake
- Easy No-Bake Oreo Pie
Butterfinger Ice Cream
 Recipe Cost 8.13 Serving Cost 1.02
Equipment
- large mixing bowl
- Electric Hand Mixer
- spatula
- 9×5 Inch Bread Loaf Pan
- Measuring cups and spoons
Ingredients
- 2 cups heavy whipping cream
- ½ cup powdered sugar
- 1 teaspoon vanilla extract
- 14 ounce can sweetened condensed milk
- 1 ¼ cups chopped Butterfinger bars
Instructions
- Pour the powdered sugar and heavy cream into a large mixing bowl. Use an electric hand mixer to whip the cream, and sugar into stiff peaks.
- Once the cream reaches stiff peaks, add the sweetened condensed milk and Butterfinger pieces. Gently fold the mixture together until the candy is evenly distributed throughout the ice cream.
- Pour the ice cream into a 9×5 inch bread loaf pan. Place the pan in the freezer and allow the ice cream to set for 4-5 hours, or until the center of the pan is firm.
- Serve and enjoy!
Notes
- After the ice cream has set, you can store it covered with plastic wrap or in an airtight container for up to a month. After a month, the ice cream starts to get a little crumbly.
- I like to sprinkle a little extra crushed Butterfinger on top of the ice cream, but this step is optional.
- I found that cold cream whipped up a little easier than cream closer to room temperature.
- Adding vanilla helps amplify the sweetness in the ice cream.
- You may need to let your ice cream sit for a few minutes before you scoop it, but once it is soft enough to scoop, it will scoop just like real ice cream.


Leave a Reply